A Development Environment
This appendix contains how to set up a development environment so that the reader can run the sample codes in the book and the accompanying Github repository. In general, we use Node.js to package Javascript code with HTML, images, and 3D contents. We also use it to serve the packaged webpage so that web browsers would run out code without triggering the cross-origin resource sharing (CORS) errors.
We tested all the sample codes with the Chrome web browser, which supports WebGL 2.0 since 2017.
If the reader wishes to modify the sample code, we recommend the reader use Visual Studio Code as it is available for free and have extensions for HTML, Javascript, and GLSL coding.
A.1 Setting up Node.js
A.1.1 Windows
First, please download the installer from https://nodejs.org. At the time of writing, the website offers two versions: "LTS" (long-term support) and "current." Either version is fine for our purpose. Once you have downloaded the installer, run it until completion.
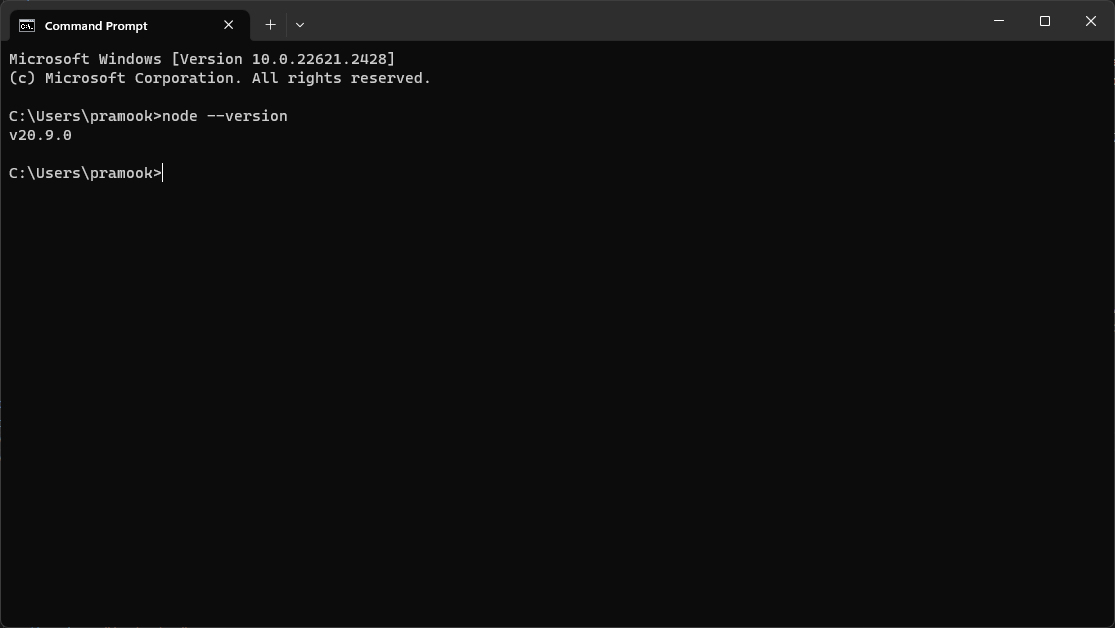
Next, let us test whether you can run the software from a shell. Invoke Window's cmd program. At the command line, execute:
> node --version
If the software was install correctly, the program should print the version of Node.js that was installed like in the following figure.
A.1.2 OS X
TODO: Fill in this section.
A.1.3 Ubuntu
TODO: Fill in this section.
A.2 How to run a sample code
The process of running sample code that accompanies the book is the same for all projects. In this chapter, we will be running one sample program to familarize ourselves with the process. All sample code is available from the book's code Github repository. Please clone the repository to a directory in your PC. Let us assume that this directory is ~/cg-book-code.
The reposity is divided into directories, each corresponding to a chapter. Each chapter's directory has one or multiple directories for sample programs in that chapter. The directory for this chapter, Appendix A is appendix-a, and it contains one program, whose directory is appendix-a/program-01. This is the program we will run in this chapter.
A.2.1 Understanding the sample code
The appendix-a/program-01 directory houses a Node.js project that uses webpack to bundle Javascript code and other resources so that they can be conveniently served with an HTTP server. The directory has 4 files arranged in the layout below:
+ cg-book-code/appendix-a/program-01
  + src
    - index.js
    - index.html
  - package-lock.json
  - package.json
  - webpack.config.js
The package-lock.json, package.json and webpack.config.js files are setting files. The src directory contains the "source code" for the program: index.js contains the Javascript code, and index.html contains a web page that will use the Javascript code. Each sample program in this book has one index.html, and running the program means viewing this web page after all assets have been bundled by webpack and served correctly.
Let us take a look at the source code. The index.html file is indeed a minimal web package. What it does is only running the Javascript code contained in a file calledindex.bundle.js. This file is not present in the repository because it will be automatically generated by webpack from index.js.
<!DOCTYPE html>
<html>
  <head>
    <meta charset="utf-8" />
    <title>Appendix A Program 01: Minimial Sample Code
  </head>
  <body>
  <script src="index.bundle.js">
  </body>
</html>The content of index.js is even simpler. It only contains one statement that will create a pop-up window that says "Hello, world!" when we load the web page.
alert("Hello, world!");A.2.2 Preparing to run the sample code
Now that we understand what the minimal sample program does, let us try to run it. The first thing to do is to open a command-line shell. Then, change the directory to the directory of appendix-a/program-01.
> cd <your-cloning-location>/cg-book-code/appendix-a/program-01Next, we will need to install Node.js packages that are necessary to bundle all the assets. To do so, run the following command:
> npm installThis command will download Node.js packages into a directory named node_modules, and so the structure of the program's directory will become:
+ cg-book-code/appendix-a/program-01
  + node_modules
  + src
    - index.js
    - index.html
  - package-lock.json
  - package.json
  - webpack.config.js
The node_modules directory will in general contain many files and directories underneath. However, there is no need to be concerned with its content. What to keep in mind is that this directory needs to be present before we can run the sample code. If you will not run it again, you can simply delete the directory. If you change your mind and want to run the code after deleting node_modules, just run npm install again to recreate it.
We are now ready to run the sample code. There are two ways to do this: the "development mode" and the "production mode."
A.2.3 Running the sample code in development mode
We run the sample code in development mode when we want to change the code and sees the result immediately. To do so, run the following command under the directory of a specific program:
> npm run serveThis command does several things all at once. It first use webpack to bundle the Javascript code, the web package, and all the other assets. It then sets up an HTTP server to serve these contents. You can see a screenshot of the shell after running the command in the figure below.
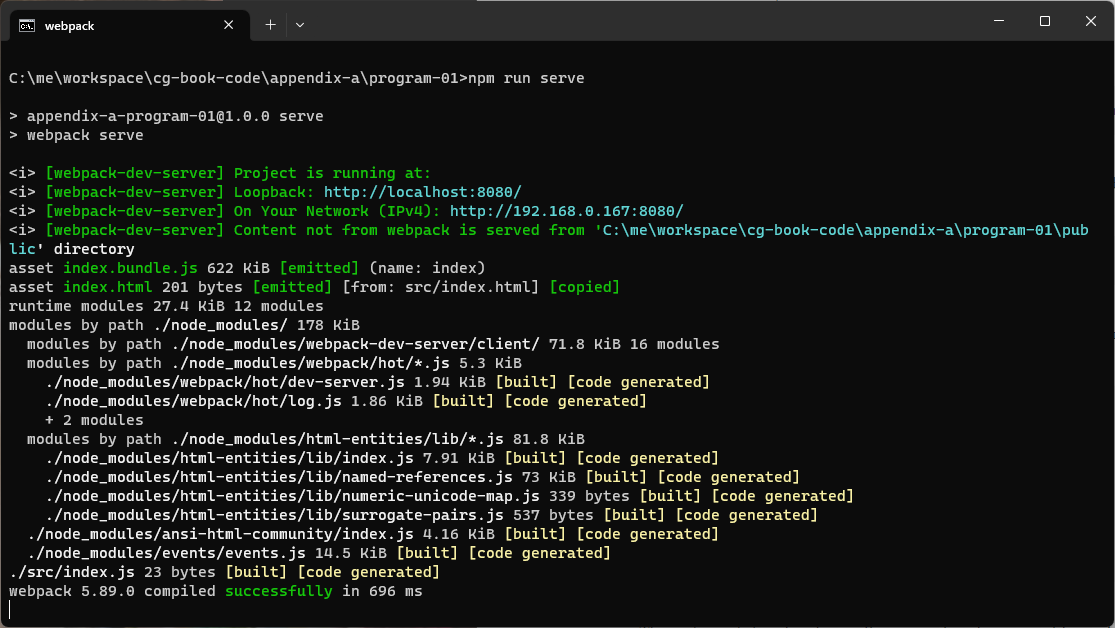
From the screenshot, we can see that the program can now be accessed via a web browser through the URL http://localhost:8080. So, let us open the Chrome browser and access it. You should see a window with the text "Hello, world!" like in the figure below. Let us click the OK button to close the window.

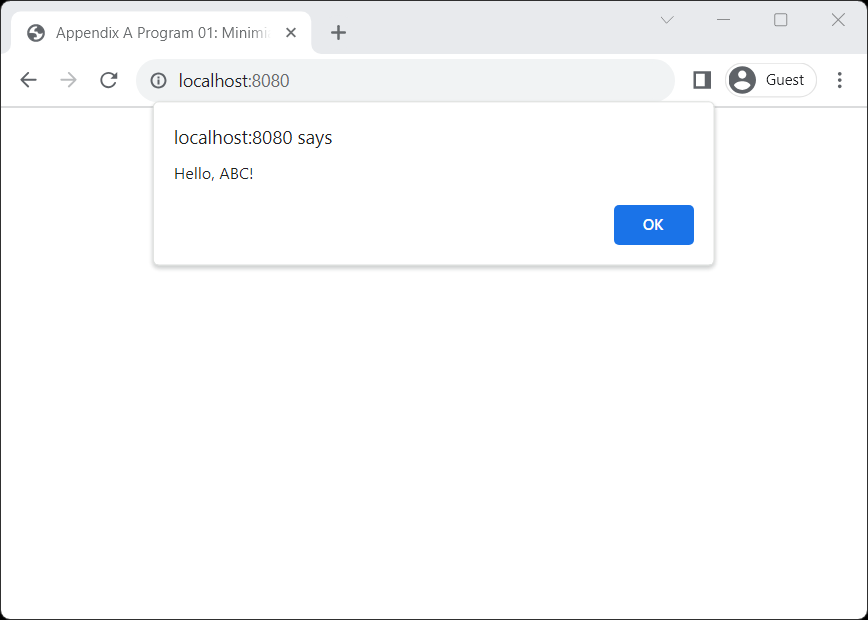
Next, we will try modifying the Javascript code add see what happens. Open a text editor and change the content of index.js so that the program shows a different alrt message like in the figure below.
alert("Hello, ABC!");As soon as you save index.js in the editor, the browser would automatically reload the web page, and the new pop-up window would appear and say "Hello, ABC!"
We have just seen first hand that the change we made to the Javascript code is reflected immediately in the browser. This feature of the development mode is very useful when we want to study the sample code by modifying it and seeing the result.
A.2.4 Running the sample code in production mode
We run code in production mode when we want to serve our program to users other than ourselves. This involves two steps.
- Building. We prepare the HTML web pages, the Javascript code, and all the other types of contents in a form that is ready to be served to the user. In our case, webpack does the building for us.
- Deployment. We serve the built program with a web server.
Unlike developmet mode, if we make any changes to the program after deployment, the changes will not be reflected in the deployed program. We have to build and deploy the program again to include the changes. The npm run serve command in the last section carry out the above two steps altogether. However, he web server is only available on the machine we use, and it might also reveal too much information about the program because it is intende to be used for program development. In production mode, we have more freedom to choose the web server. This means that we can serve our program from other computers and choose a server that have better security guarantees.
Let's get to running the code in production mode. To build the sample program, run the following command:
> npm run buildThis command uses webpack to bundle the program. The result is a directory named dist under the directory of the Node.js project. The files under this directory is the built program. In our case, the directory only contains two files: index.html and index.bundle.js.
+ cg-book-code/appendix-a/program-01
      + dist
        - index.html
        - index.bundle.js
      + node_modules
      + src
        - index.js
        - index.html
      - package-lock.json
      - package.json
      - webpack.config.js
We can tell that the web application is ready to be deployed because the index.bundle.js file that is referenced by index.html is present. The files under dist are portable. We can move them anywhere and serve them with a web server, and the program would function correctly.
Let's try to serve the build program with a web server. To do so, we need a web server, and we will use one called http-server that is available as a Node.js package. To install the package, run:
> npm install --global http-serverAfter the installation is done, change to the dist directory.
> cd distThen, run the command http-server that we just installed.
> http-serverThe shell would display messages like the following figure:
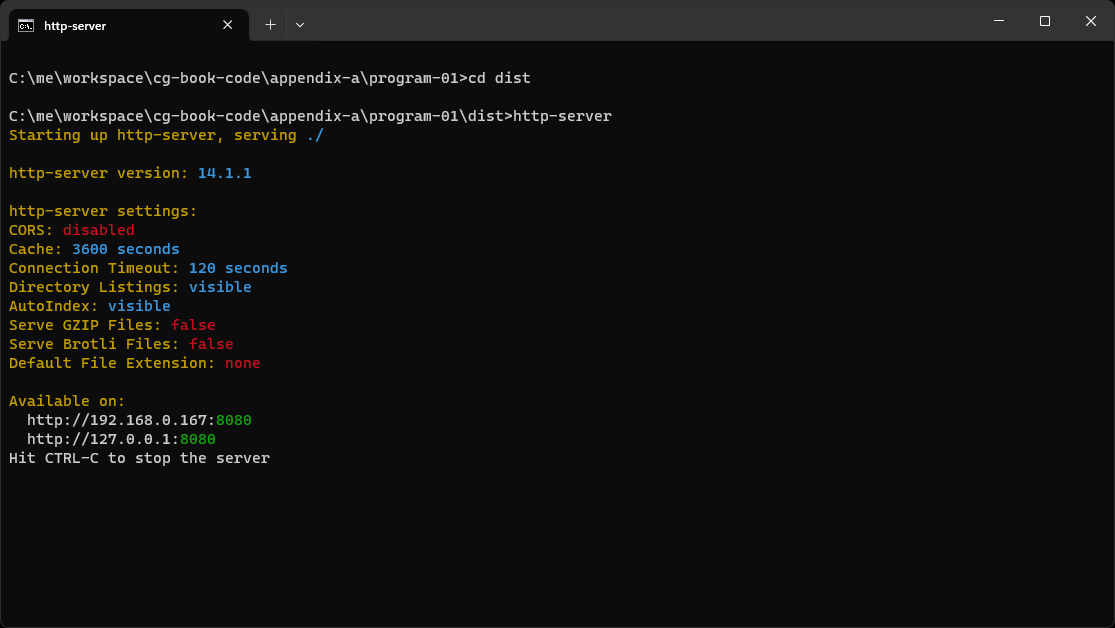
The HTTP server is telling us that we can access our program from the URL http://127.0.0.1:8080/, which is equivalent to http://localhost:8080. If we open the URL with a web browser, we should get a result similar to Figure A.7, assuming that you have changed the text the program prints.